-
In a liquid measure, combine the milk and vinegar; place in the refrigerator until ready to use.
-
In a large bowl, whisk together the flour, salt, and sugar. Add the butter cubes to the dry mixture and toss with your fingers to coat.
-
Using your hands, work the butter into the flour by pressing it between your fingers and thumb in a slow finger-snapping motion to create flattened shards.
-
Work your way through all the cubes until they're flattened and coated. Work in the lard (or shortening) the same way.
-
Create a shallow well in the flour mixture and add the chilled milk, a tablespoon at a time, tossing with the flour. Use all of the liquid (this recipe is more moist than typical pie dough).
-
Once the dough comes together in a rough ball, turn it out onto a floured work surface and, with floured hands, knead five to seven times until it forms a ball.
-
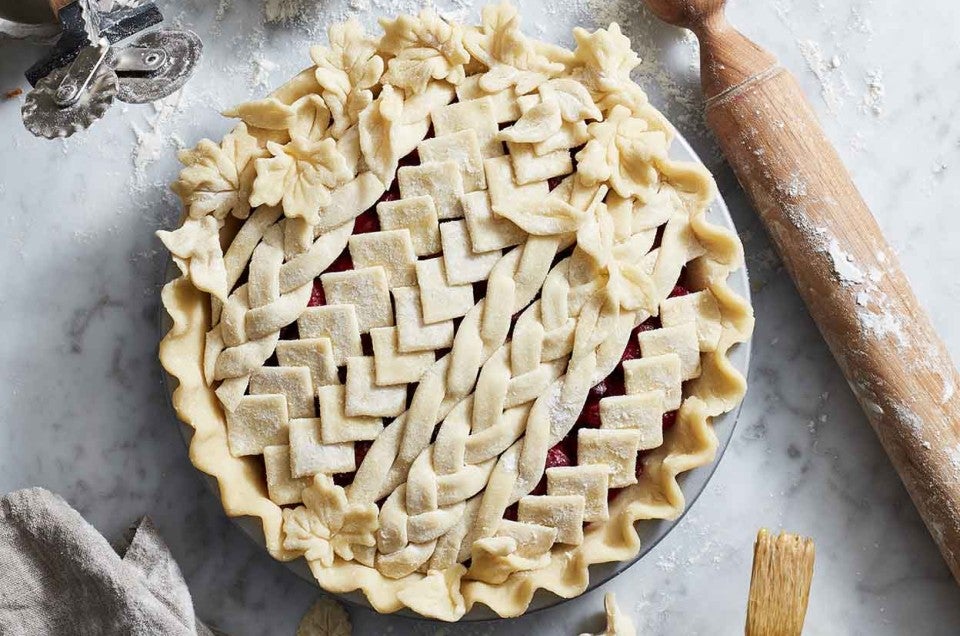
Lightly coat the dough with flour and cut into two pieces, using a third for the bottom of the pie and keeping two thirds available for making designs for the top.
-
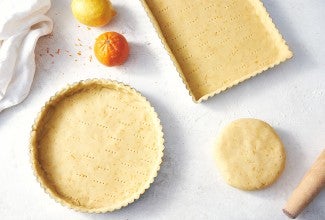
Place cut side down on plastic wrap; form the smaller piece into a 1" thick disk and the larger piece into a 1" thick rectangle. Chill for 1 hour before rolling out.
-
Raw dough can be refrigerated for up to 2 days, or frozen for 2 months for longer storage.
