-
To make the starter: Weigh your flour; or measure it by gently spooning it into a cup, then sweeping off any excess. Mix the starter ingredients in a small bowl until well combined. Cover the starter and let it rest at room temperature overnight, or for up to 15 hours. It will become bubbly.
-
Place all of the dough ingredients, including the starter, into the bowl of your mixer, and beat at medium speed, using the flat beater, for 7 minutes. The dough will be very smooth, soft, shiny, and elastic. Alternatively, knead the dough ingredients in your bread machine using the dough cycle. See "tips," below for details on kneading by hand.
-
Transfer the dough to a greased bowl or other rising container, cover it, and let it rise for 2 hours. Give the dough a fold: Turn it out onto a floured surface and, using a bowl scraper or bench knife, fold it like a business letter. Turn the dough 90° (a quarter turn). Gently flatten it a bit, and repeat the letter fold. Return the dough to the bowl, cover, and let it rise for another hour. Note: If you're using a bread machine, simply allow it to rise for an additional hour after the dough cycle has ended; there's no need to take it out and give it a fold.
-
Lightly grease your work surface, and two half-sheet baking pans (18" x 13") or similar large baking sheets. Grease your hands, as well.
-
Turn the dough out of the bowl onto a lightly greased work surface.
-
Pat the dough into an 8" x 10" rectangle and cut it into 12 squares (about 2 1/2" each).
-
Transfer the rolls to the baking sheets, leaving about 3" between them.
-
Lightly cover the rolls with heavily oiled plastic wrap or a proof cover, and allow them to rise for 2 to 3 hours, or until they're showing some signs of puffiness. Towards the end of the rising time, preheat the oven to 425°F.
-
Spritz the risen rolls with lukewarm water, and gently but firmly dimple each one with your fingers, making fairly deep pockets. Note: For extra-crusty crust, forgo spritzing the rolls with water and instead add steam to your oven; for details see "tips," below.
-
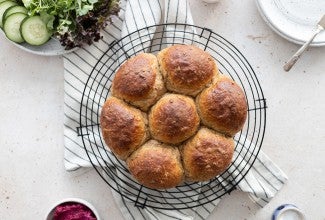
Immediately place the rolls into the oven. Bake them until they're golden brown, about 18 to 20 minutes. Remove them from the oven, and cool on a rack.
-
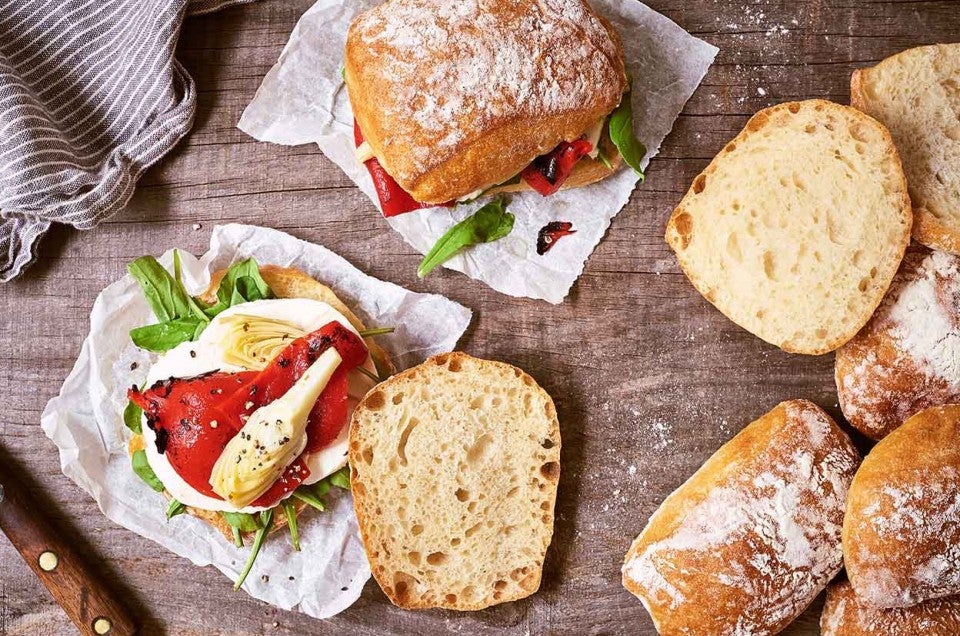
Slice crosswise, and add your favorite fillings. Store any leftovers, tightly wrapped, at room temperature. Rolls may be reheated just before serving, if desired; tent lightly with foil, and heat for about 8 minutes in a 350°F oven.
