-
Gather two baking sheets, or more if you have them; you'll make three to four baking sheets' worth of cookies.
-
To make the cookies: In a medium bowl, beat together the sugar, butter, espresso powder, salt, and baking powder on medium-low until smooth, about 1 to 2 minutes.
-
Beat in the egg and vanilla, then the flour and cocoa. Mix until no dry streaks remain.
-
Split the dough in half (about 585g per piece). Use a rolling pin to roll each piece between two sheets of parchment (no need to flour or grease) to less than 1/8" thick; aim for a 8" x 10" rectangle or 10" oval.
-
Place the dough, still sandwiched between the parchment, into the refrigerator to chill for 30 minutes. Meanwhile, preheat the oven to 325°F with racks in the upper and lower thirds.
-
Remove the dough from the refrigerator and gently peel off the top and bottom layers of parchment. Return the dough to one of the pieces of parchment and cut it into 2 1/2"-round cookies (a lightly floured biscuit cutter is a helpful tool here). Distribute the cookies among the baking sheets, leaving at least 1/2" of space between them. Alternatively, use a pizza wheel or sharp knife to score the dough into 1 1/2" to 2" squares directly on the parchment. Leave the cookies in place; if making squares, you'll separate them after baking.
-
Bake the chocolate wafers for 14 to 17 minutes, two pans at a time, rotating halfway through baking.
-
When the chocolate wafers are done baking, remove them from the oven. If you made squares, immediately score the dough again, leaving them in place on the baking sheets. With either shape, allow the wafers to cool completely on the baking sheets; they'll crisp up as they cool.
-
As one batch of cookies bake, gather any dough scraps and continue to roll, cut, and bake until all of the dough has been used up. If the dough gets too warm, chill it briefly in the refrigerator.
-
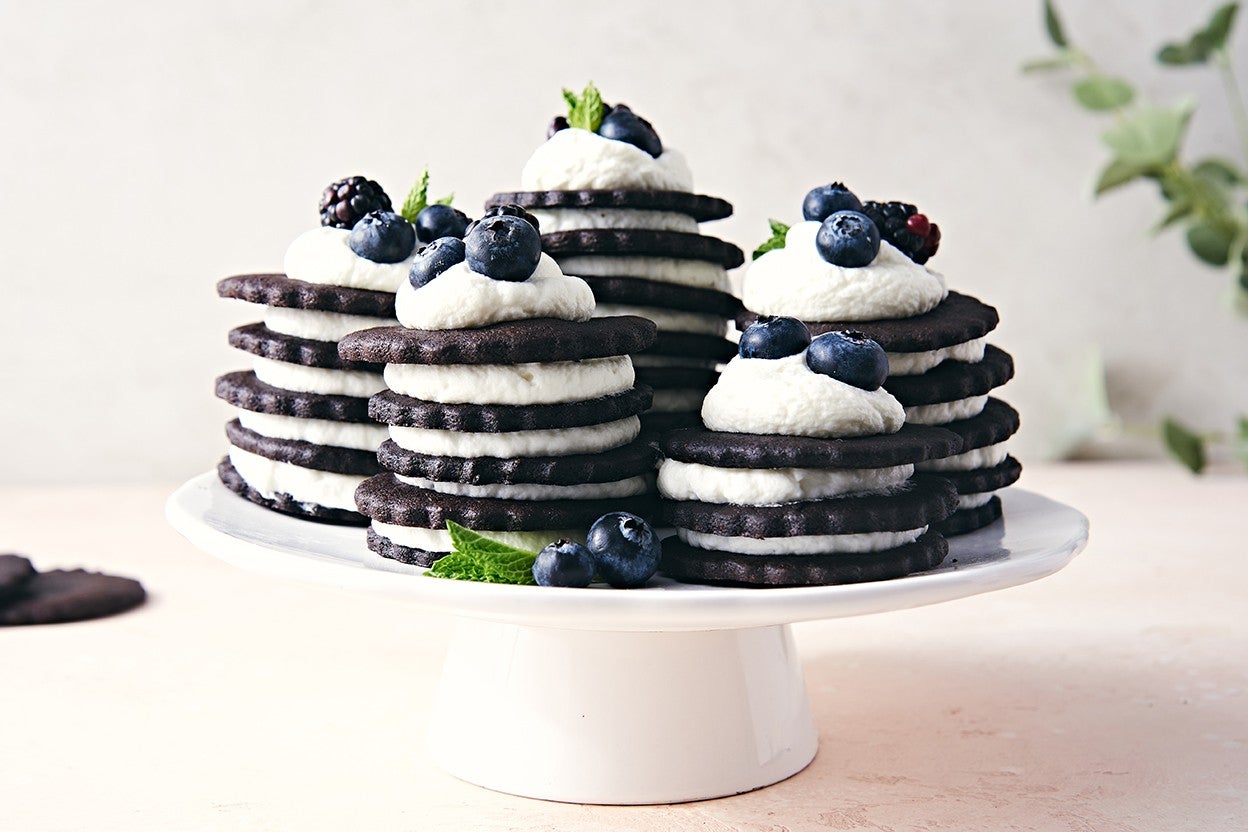
To fill the cookies: Use a small offset spatula or a knife to spread about 2 teaspoons of filling onto the bottom of one cookie. Or for a cleaner presentation, roll about 2 teaspoons of filling in the palms of your hands to form a ball, and place it on the bottom of a cookie.
-
Finish the sandwich cookie by placing another cookie, bottom-side down, on top of the filling. Press gently, until the filling almost reaches the edge of the cookies.
-
Repeat with remaining cookies and filling, until all are filled.
-
Storage information: Store well wrapped, at room temperature for several days; freeze for longer storage.